My 1939 Ford Standard Coupe - The Tear Down

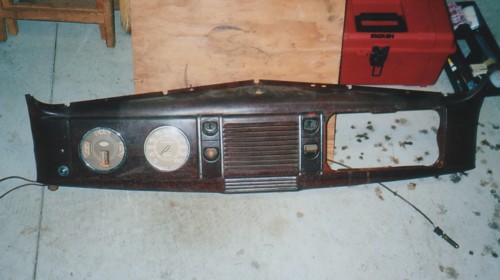
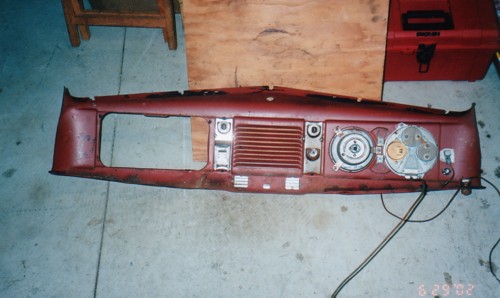
The dash is in fine shape aside from the paint and woodgraining.


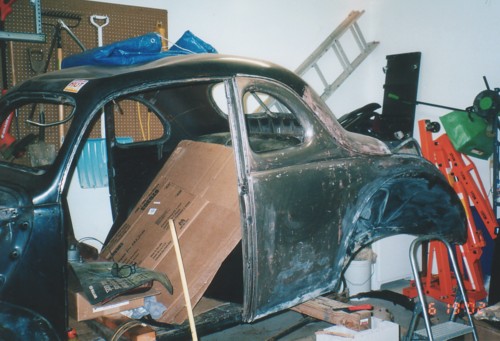
I started with the driver's side quarter, and used "Aircraft" stripper to remove the paint. Do small areas at a time. Be sure to have plenty of ventilation so you don't ruin your brain cells or cause cancer in the rats running around your garage.
Here's where I discovered what was hiding behind that old fresh undercoating inside. Body panel repairs were made years ago on the lower quarters, using lead. It's nicely done and pretty smooth. They skim-coated the lead repairs with plastic filler before the paint went on.

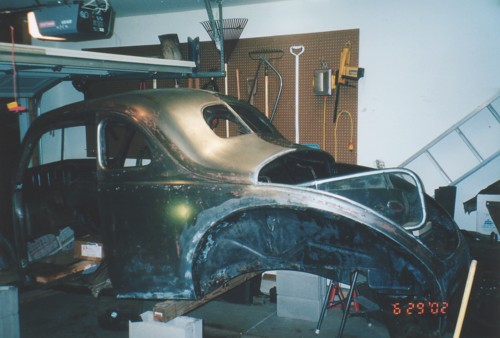
I continued stripping paint on up the roofline, going across the rear window area. After I strip the paint, I wipe the chemical off the steel. Then I take mineral spirits and wipe it again. This leaves a film on the steel to help prevent new oxidation from occurring until the car is ready for repaint.