My 1939 Ford Standard Coupe - The Restoration

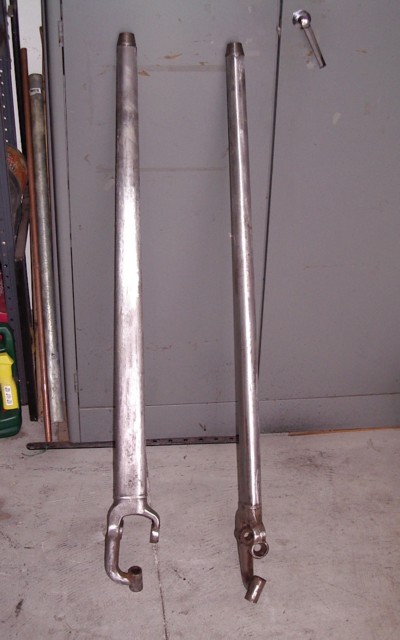
The front suspension radius rods (also known as the "wishbone") was cut several inches from the V end with the ball swivel, according to the dimensions included with the transmission adapter kit. I used a 3" cut-off wheel to make the cuts.
I touched up the ends with a grinder and smoothed out the sharp edges with a rat tail file. The kit included a set of adjustable tie-rod ends with weld-on bungs for the radius rods.
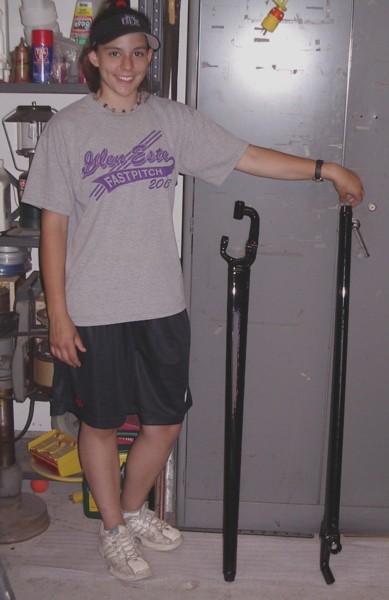
I took the rods and the weld-on ends to a local welder who mig welded them together. Considering that this is a suspension component, I wanted a pro welder to do this weld and make sure it was right. The welds looked smooth, but more importantly, had good penetration.

Beside the gloss black finish, they added a clear polyurethane type paint that has excellent resistance to chipping. I'm having this process done to all suspension parts that would be exposed to gravel and debris kicked up from the road.

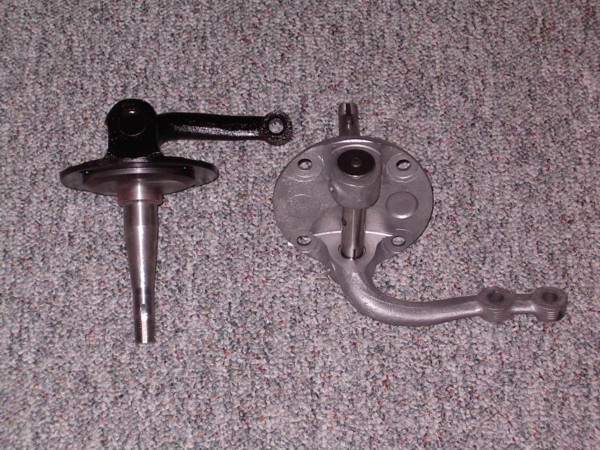
Ford service manuals recommend a clearance of .001 to .002" between the king pins and the bushings. I had my machine shop press in the bushings. They used a wrist pin hone to set the clearance at .0015" for me. They also blasted the old paint and grease off for me.
I used spray can paint to apply several coats of primer and gloss black on the exposed areas.