My 1939 Ford Standard Coupe - The Restoration
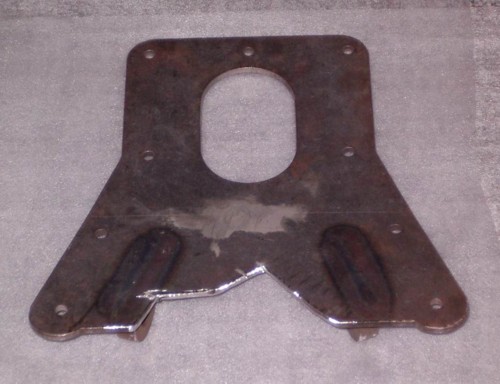
This is another piece I bought from Speedway. It was part of their Kit #702-2330, which includes this lower plate, a curved top-side steel plate, a steel end plate, package of mounting hardware, and two tie rod ends (weld-on type).
The front edge of this plate was originally straight across, with a couple small slots near the middle. With the Borg-Warner T5 trans in place, I discovered that I couldn't fit the plate where it's supposed to go, without cutting out a large notch to allow the trans case to clear it. I used a small cut-off wheel, but you could use a cutting torch, plasma arc cutter, or other cutting device to remove the 1/4" thick steel. I touched it up with a grinder to take the sharp edges off.
The bolt holes were already pre-drilled and match up closely with the factory rivet holes left in the frame after I removed the original center section. I did have to take a small tip grinder to enlarge several of the holes in the frame to match up to the pre-drilled holes in the adapter plate.
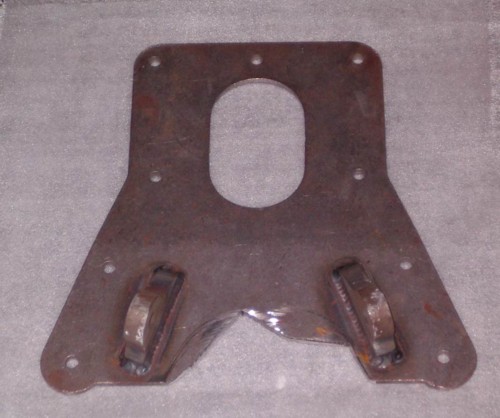
Note.....the top plate that also came in the kit was intended for use with a GM automatic transmission. Using this with my application (T5 manual transmission) would create clearance problems, so I will rely on the bottom plate and rear plate to reinforce the center section of the frame.
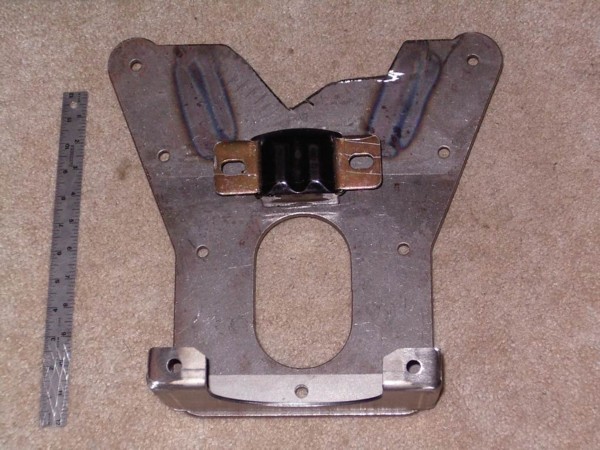
The mount came from PepBoys. It is a product called "Energy Suspension" (their catalog #3.1108GC) which is designed for GM rwd cars and 2wd trucks. It has a polyurethane component to resist oil and grease. They sold it for about $25.00.
The bottom side was predrilled with 3 holes. The outer holes were 1.5" apart. I drilled the frame plate with 3/8" holes to match up. The mount's topside has a wider steel plate which you can see here. The holes are slotted and matched up nicely to the T5 trans mounting holes. Since the T5 is all metric, you'll need some matching bolts to attach it.
The big open slot in the center of the frame piece is useful for a flat wrench to hold the lock nuts that come with the kit.
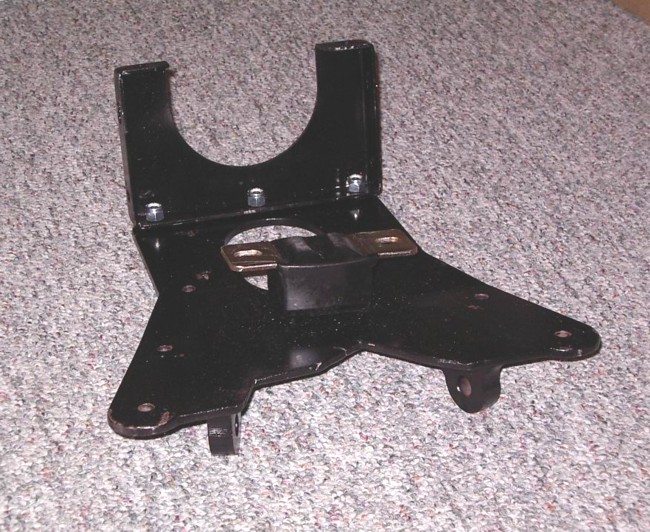
The parts were cleaned, primed and painted gloss black. Here is the reassembled center section and trans mount (looking from the front edge and top view).
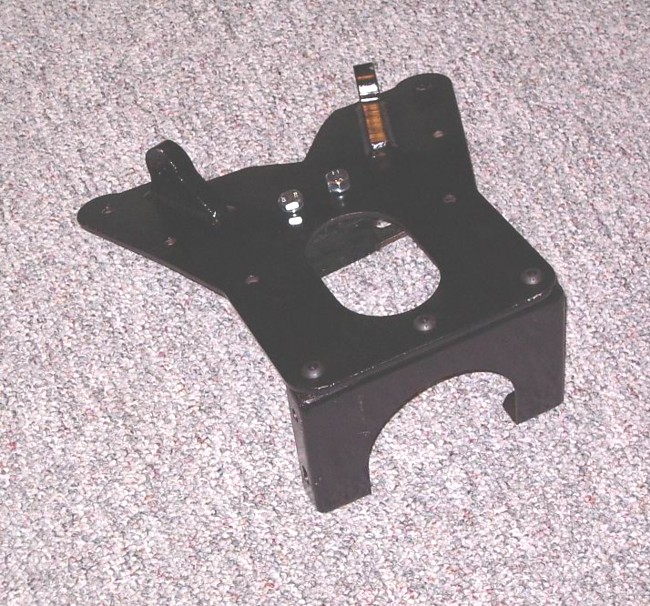
Same assemble from the rear angle, showing the bottom side with the tie rod end brackets.
I've fitted these items in and out of the frame several times and scuffed up the black paint a bit. When all is ready to mount the trans and engine in place for good, I will touch up the little scratches.....mostly for my own sense of appearance. Of course, it'll keep things from rusting too.